OAuth 2.0 Provider
Learn how to authorize an externally hosted app with the Kustomer OAuth provider.
You can authorize externally hosted apps to access the Kustomer API either with a Kustomer API key or with the Kustomer OAuth provider. The Kustomer OAuth provider generates an access token that you can use like a Kustomer API key to authorize API requests.
This tutorial shows you how to authorize an externally hosted app with OAuth.
In this tutorial, we'll first create and register a separate, private app to store your client ID and client secret to use with OAuth.
After the app registration and installation, we'll generate a client secret for the app and then use the secret to authorize with Kustomer through the OAuth authorization code flow.
After we successfully authorize the app with Kustomer, we will return an access token from the Kustomer OAuth provider that will allow us to access and make calls to the Kustomer API.
To learn more about OAuth, visit the OAuth documentation.
Tutorial goals
By the end of this tutorial, you'll know how to:
- Create and register a private app to store the client ID and client secret
- Generate a client secret for the app
- Pair the client secret with the client ID to authorize the app with Kustomer
- Return an access token from the Kustomer OAuth provider
- Return a refresh token from the Kustomer OAuth provider
- Use the access token to make calls to the Kustomer API
Prerequisites
Before you get started, make sure you have the following:
- (If testing) Access to a sandbox account or test organization with at least Administrator access
- Familiarity with how to create and register a basic app definition
- A valid API Key that includes the following roles at the minimum:
org.admin.appsandorg.permission.apps - Your Kustomer organization subdomain:
https://<org-name>.kustomerapp.com/ - A redirect URI to securely receive an authorization code (you can create a private URL through services like https://requestbin.com/)
Step 1: Create a private app
First, we'll create and register a private app that will store the client ID and client secret. Unlike public apps developed for others to install, a private app is only available for installation on your organization.
To create and register a private app, POST a minimal app definition to https://api.kustomerapp.com/v1/apps/available.
You can use tools such as Postman or cURL to construct and send your API request.
We've provided a sample app definition and cURL request you can use for the tutorial below. Use a descriptive title for you app to display on the Kustomer authorization screen, which we'll see in Step 3.

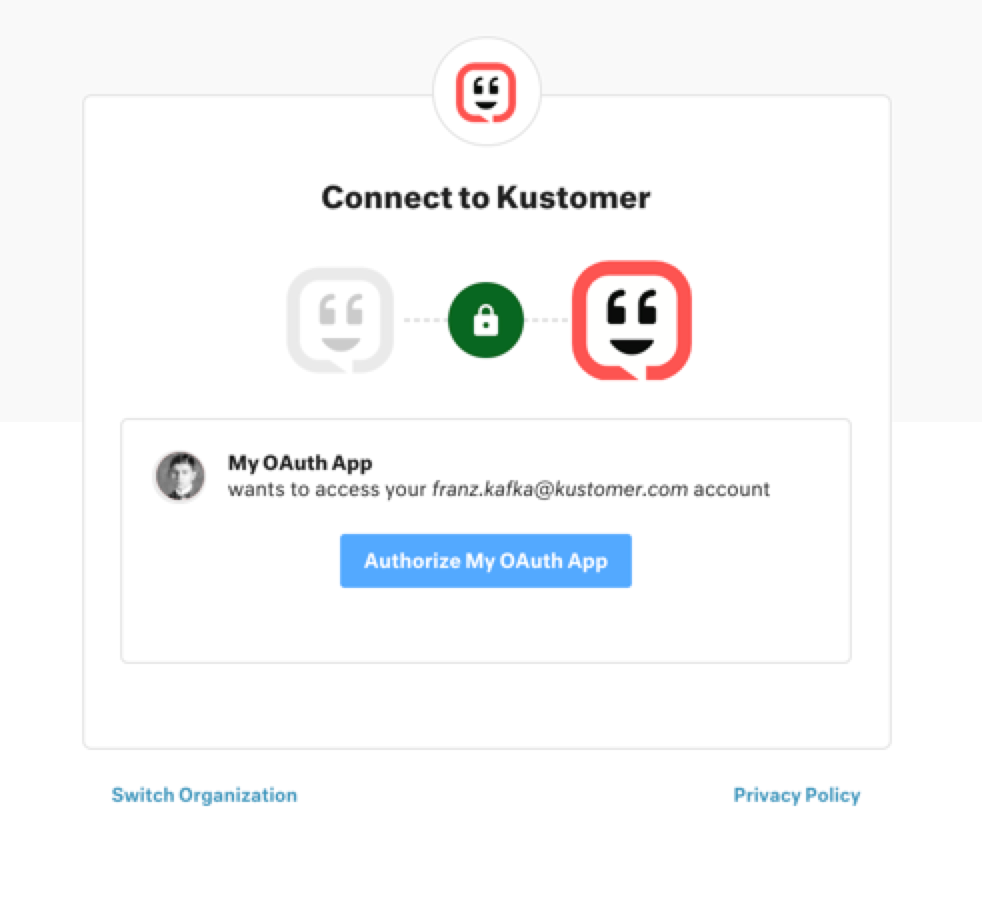
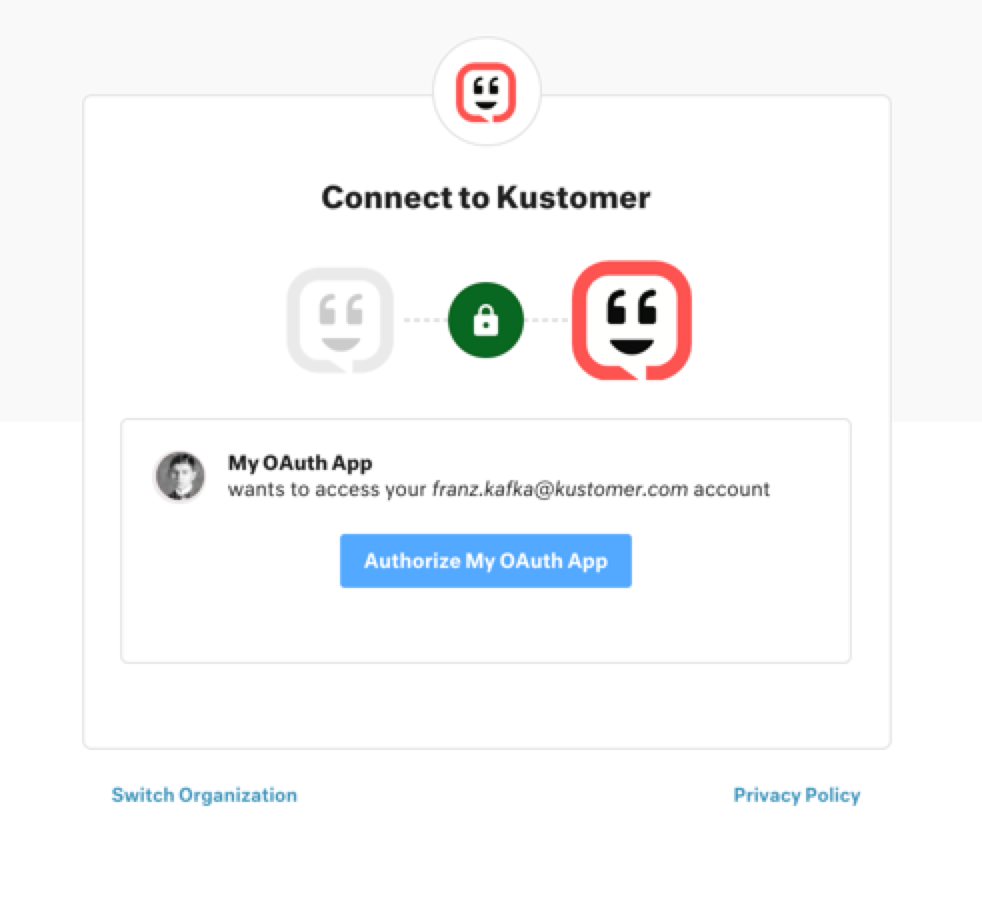
The Kustomer authorization screen in this example displays the app title "My OAuth App".
Example minimal app definition for a private OAuth app
{
  "app": "myoauthapp",
  "version": "0.0.1",
  "title": "My OAuth App",
  "visibility": "private"
}
Example cURL call to register a private OAuth app
Before sending the cURL request, replace <API-token-goes-here> with a valid API key.
A successful registration response will include data for the registered app including your clientId and your app name namespaced with your orgId (for example, `myoauthapp_).
Namespacing for private app names
When you register a private app, the Kustomer apps platform automatically namespaces the
appid with_followed by your organization ID, ororgIdto ensure that the app name is globally unique. Public app names, however, do not get namespaced.
curl --location --request POST 'https://api.kustomerapp.com/v1/apps/available' \
--header 'Content-Type: application/json' \
--header 'Authorization: Bearer <API-token-goes-here> \
--data-raw '{
  "app": "myoauthapp",
  "version": "0.0.1",
  "title": "My OAuth App",
  "visibility": "private"
}'
{
    "data": {
        "type": "available_app",
        "id": "myoauthapp_<Your Org ID>-0.0.1",
        "attributes": {
            "name": "myoauthapp_<Your Org ID>",
            "auth": {},
            "version": "0.0.1",
            "visibility": "private",
             ...
            "redirectUris": [],
            "clientId": "<Your Client ID>"
        },
       ...
    }
}
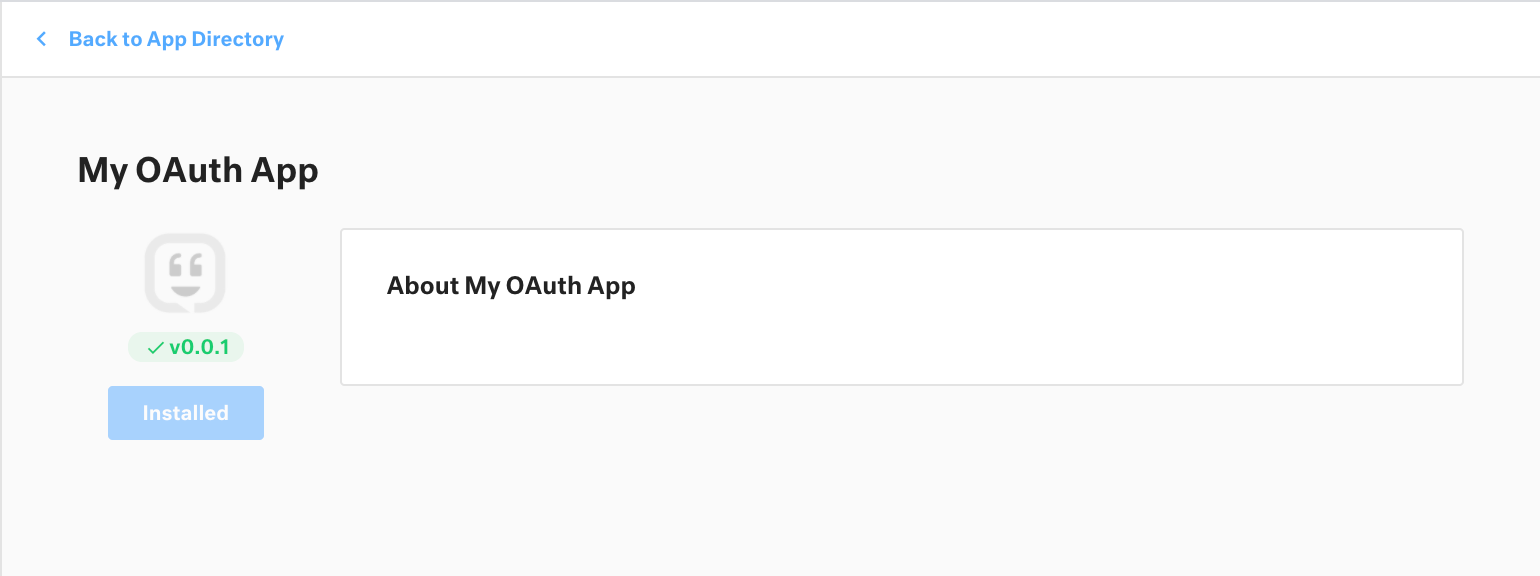
If successfully registered, your private OAuth app will appear the App Directory for your organization.
Install the app before you continue to Step 2: Generate a client secret.

Install your private OAuth app from the App Directory for your organization.
Step 2: Generate a client secret
After we've successfully registered and installed the private OAuth app, we'll generate a client secret.
To generate a client secret, POST an empty JSON body to v1/apps/available/{app}/secret.
Replace the app parameter with the namespaced name of your private app from Step 1 (for example, myoauthapp_<orgId>). Replace <API-token-goes-here> with a valid API key.
This request returns both a clientId and clientSecret. If necessary, you can call the request again to generate a new client secret.
curl --location --request POST 'https://api.kustomerapp.com/v1/apps/available/myoauthapp_<orgId>/secret/' \
--header 'Content-Type: application/json' \
--header 'Authorization: Bearer <API-token-goes-here>' \
--data-raw '{}'
{
    "data": {
        "type": "available_app",
        "id": "myoauthapp_<Your Org ID>-0.0.1",
        "attributes": {
            "name": "myoauthapp_<Your Org ID>",
            "auth": {},
            "version": "0.0.1",
            "visibility": "private",
            ...
            "redirectUris": [],
            "clientId": "<Your Client ID>",
            "clientSecret": "<Your Client Secret>"
        },
        ...
    }
}
After you generate a client secret for your client id, continue to Step 3: Authorize with Kustomer
Step 3: Authorize with Kustomer
Install your OAuth app
Check that you've installed your private OAuth app before you authorize with Kustomer. Otherwise, the OAuth flow with fail and will generate a 400 "Invalid Client" error.
After we've successfully generated a client secret, we'll pair the client secret with the client ID to authorize the app with Kustomer. This authentication process is sometimes called the OAuth "dance" 🕺🏻 or "handshake" 🤝.
The authentication process requires an access token. To receive an access token, run the OAuth 2.0 authorization code flow with your externally hosted app.
There are three parts to this OAuth authorization code flow (or OAuth dance / handshake):
- Initiate the app authorization with a
GETrequest tohttps://api.apps.kustomerapp.com/oauth/authorizein the browser - Receive an
access_tokenand arefresh_tokenwith aPOSTrequest to/oauth/token - Use a
refresh_tokento receive a newaccess_tokenandrefresh_tokenwith aPOSTrequest to/oauth/token
GET /oauth/authorize
To initiate the authorization flow, make a GET request to have your private app forward the user's browser to the /oauth/authorize resource for their organization:
https://api.apps.kustomerapp.com/oauth/authorize
Provide the following query params in your request:
To use refresh tokens, add
offline_accesstoscopeparamAlways include
offline_accessin yourscopequery param to use refresh tokens.This allows your external app to receive both an access token (valid for 1 day with an
expires_invalue of86400seconds) and a refresh token. The app can use the refresh token to request a new access token once the access token expires after 24 hours. The app can request new access tokens indefinitely until you invalidate the refresh token.With refresh token: If your external app has a refresh token, the app requests the access token again automatically without additional action from the user (for example, entering their credentials again to log in).
Without refresh token: If your external app doesn't have a refresh token, the app logs out the user after 24 hours. The user must enter their credentials again to use the app once their access token expires.
client_idset to your Client ID from step 2redirect_uriset to the redirect URL used to securely receive the authorization code (to learn more see the OAuth documentation for Redirect URIs)response_typeset tocodescopeset toorg.permission.customer+org.permission.conversation+offline_access(add the necessary API key roles for the access token)stateis set to anything and will be returned in the response along with the authorization code
https://api.apps.kustomerapp.com/oauth/authorize?client_id={client_id}&redirect_uri={redirect_uri}&response_type=code&scope=org.permission.customer+org.permission.conversation+offline_access&state={state}
If successful, the browser displays the Kustomer authorization screen for the user to authorize the app.

The Kustomer authorization screen.
After the user authorizes the app, the specified redirect URI receives a GET request and returns the authorization code and the specified state query param: https://{redirect_uri}/?code={code}&state={state}.
Your externally-hosted app can use the returned authorization code to receive an access token and a refresh token through a POST request to /oauth/token.
POST /oauth/token
With the returned authorization code, the externally-hosted app can make a POST request to /oauth/token to receive an access_token and a refresh_token.
Make a POST request to https://api.apps.kustomerapp.com/oauth/token with the following header and body:
Header
"content-type": "application/x-www-form-urlencoded"
Body (x-www-form-urlencoded)
codeset to the authorization code returned to the appclient_idset to the Client ID from Step 2client_secretset to the Client Secret from Step 2grant_typeset toauthorization_coderedirect_uriset to the redirect URI
curl --location --request POST 'https://api.apps.kustomerapp.com/oauth/token' \
--header 'Content-Type: application/x-www-form-urlencoded' \
--data-urlencode 'code=<authorization code>' \
--data-urlencode 'client_id=<client id from step 2>' \
--data-urlencode 'client_secret=<client secret from step 2' \
--data-urlencode 'grant_type=authorization_code' \
--data-urlencode 'redirect_uri=https://your-redirect-url.net'
{
    "scope": "org.permission.customer org.permission.conversation offline_access",
    "token_type": "bearer",
    "access_token": "<Access token>",
    "expires_in": 86400,
    "refresh_token": "<Refresh token>"
}
The returned body will contain an access_token and a refresh_token.
Request a new access token with a refresh token
The externally-hosted app can use the refresh_token to make a POST request to /oauth/token to receive an new access_token and a new refresh_token.
Make a POST request to https://api.apps.kustomerapp.com/oauth/token with the following header and body:
Header
"content-type": "application/x-www-form-urlencoded"
Body (x-www-form-urlencoded)
refresh_tokenset to the refresh token from the previous stepclient_idset to the Client ID from Step 2client_secretset to the Client Secret from Step 2grant_typeset torefresh_token
curl --location --request POST 'https://api.apps.kustomerapp.com/oauth/token' \
--header 'Content-Type: application/x-www-form-urlencoded' \
--data-urlencode 'refresh_token=<refresh token>' \
--data-urlencode 'client_id=<client id>' \
--data-urlencode 'client_secret=<client secret>' \
--data-urlencode 'grant_type=refresh_token'
{
    "scope": "org.permission.customer org.permission.conversation offline_access",
    "token_type": "bearer",
    "access_token": "<new access token>",
    "expires_in": 86400,
    "refresh_token": "<new refresh token"
}
Once we have a valid access token, we can use the access token to make authorized calls to the Kustomer API.
Step 4: Use the access token
You can use any access tokens returned from a POST request to https://api.apps.kustomerapp.com/oauth/token like a regular Kustomer API key.
To authorize API calls with the access token, include access_token in the request header as an authorization bearer token: 'Authorization: Bearer <API-token-goes-here>.
This access token grants your app access to Kustomer API resources depending on the roles you add to the scope param in your GET /oauth/authorize request in Step 3.
Updated almost 5 years ago